Friday 27 January 2017

Experimenting with "heating fuels" and another sad loss

It's been a very busy week at work - we're having to go back down to Margate again on Sunday afternoon until "whenever the job's done" to pull down the speedway we repaired back in July... that ruddy thing seems to be cursed as whenever work is planned on it, someone dies.

Back in July in was my best friends mum... THIS time it was Les of NB Valerie.   http://boatlife.blogspot.co.uk  I've been a follower on his blog for many, many years and whilst having never met him, have exchanged a few messages on Canalworld forums.  He'd put up a brave, realistic and well humoured fight against the bastard cancer... supported by his wife Jaq, between them they have been an inspiration to many others I'm sure and judging by the reference's and tributes paid in many of the blogs I read, he'll be sadly missed.  Condolence is a poor word but my thoughts are with his "princess" at this time  - Les had done as much as he could to teach her how to manage the boat without him but I'm sure should the situation arise, there'll be a queue of boaters wanting to help.


. . . . . . . 

As you'll remember (if you read my most recent posting)  - LAST weekend I finally fitted the stove.

It's been a steep learning curve "playing" with it this week after work...   in fact, once again tonight, I'm sitting here on the boat in my pants with the windows open as it's not gone quite according to plan.

I was brought up with open coal fires in a draughty house...  a multi-fuel stove in a well insulated boat is VERY different beast it seems!  Each night this week, I'd set the heating for 1 hour before I was due home from work (to take the chill off the boat) and as soon as I arrived I turned it off and lit the fire.   Having very soon worked out getting it up to heat with logs then putting on coal (this week has been a trial for "Blaze")... NOT for any reason other than the petrol station I stopped at on Monday night only sold that type!

It's not very good - perhaps it is a damp bag but it takes ages to get going and sits there sulking for ages if you reduce the bottom air flow.  On the plus side, it does last a long time - just not chucking out a LOT of heat.  I did manage to keep "a couple" of embers going for 20 hours but NOT enough to enable re-lighting without the use of a fire-lighter and kindling.  

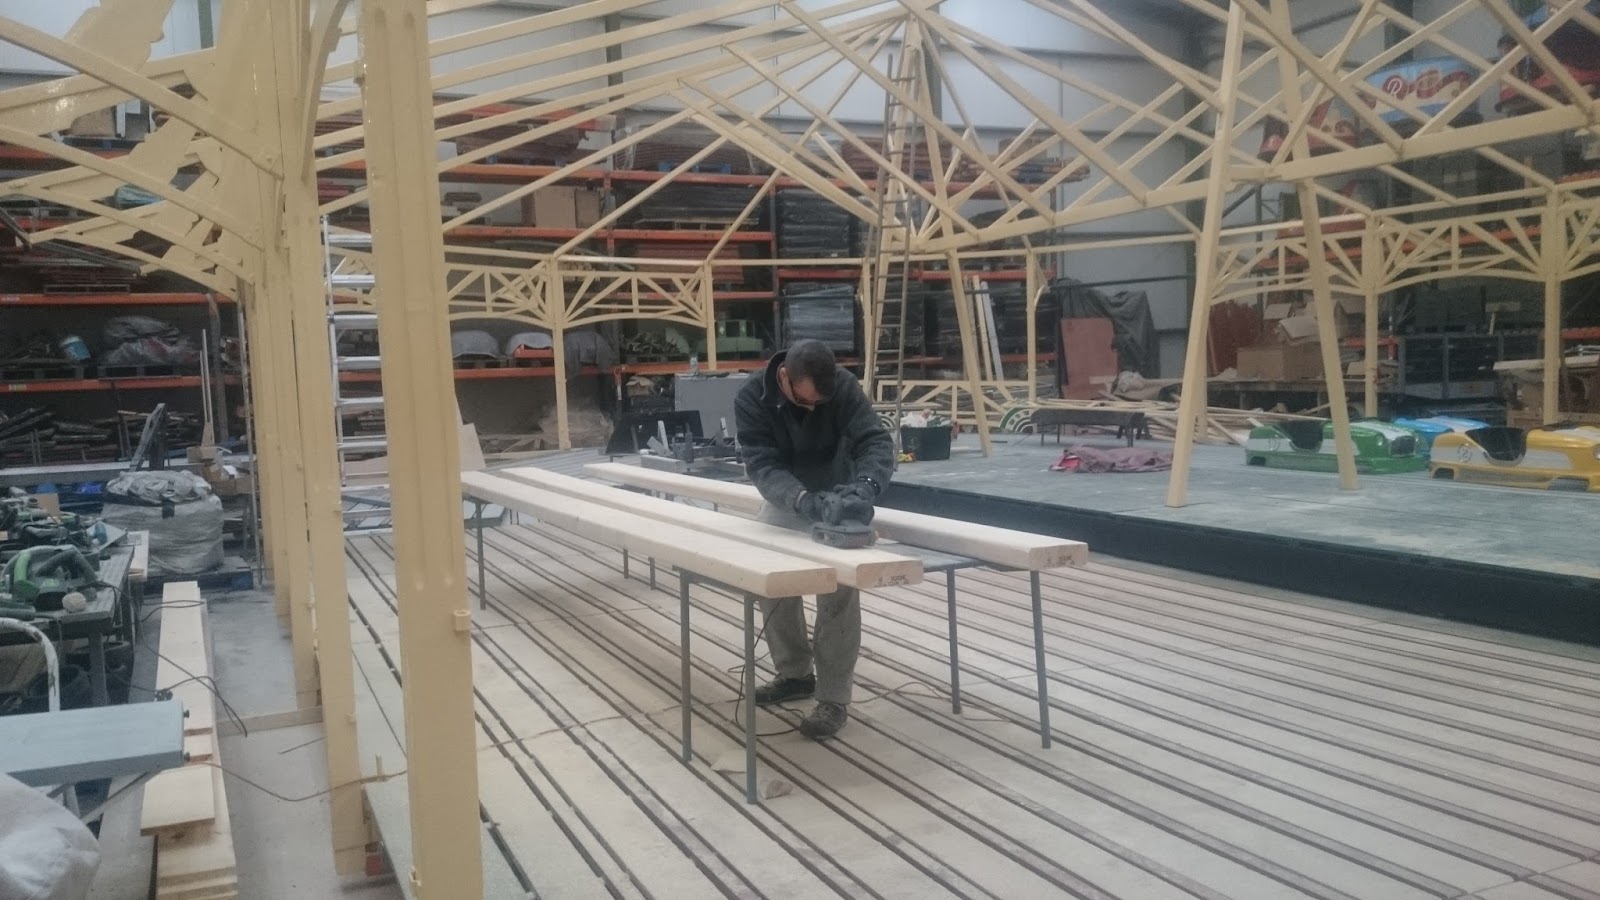
The wood (just off cuts from work - some of which is 100 year old bits of racing track - others 60 year old ghost train floor) is burning lovely and DOESN'T blacken the glass... unlike the ruddy "Blaze" has done.

Tomorrow, after work, I'm going to look for some other kind of smokeless to try out...  Andy is also nagging me to make some kind of a log/coal store to sit by the fire... HOWEVER, having used up all the heat-proof board I bought, that will have to wait.

Assuming Margate goes ok, NEXT weekend will be toilet tank fitting time... I'm NOT looking forward to that but once I get started I'm sure it will go smoother than the stove fitting... won't it?

Oh btw - I Did manage another shutter this week


I've 'sunk' little magnets behind the veneer to hold them open  - it's meant screwing washers to the side (a temporary measure as I'm going to cut to diamonds at work and paint them in the same colour we end up using for the internal parts...)

Until next time...


Monday 23 January 2017

Stove Installation...

WHAT a weekend it's been!

We decided last week that although the webasto central heating does a wonderful job of heating the boat, it DOES hammer the batteries - despite what it says in the manual.

SO, on Thursday night after work, I began to construct a surround/hearth in accordance with the Soliftec guidlines: http://www.soliftec.com/Boat%20Stoves%201-page.pdf

I began by putting the stove in the place we decided it would go in - then moving it as it would be directly in the way of the lighting wire loom on the plan!

Having compromised on the position, I marked out on the floor where it needed to be and then cut a hole through the floor and used self tapping/self drilling screws to attach 2 angled brackets to the underfloor bearers. Having done that, I then screwed down some board over the whole area to give it a bit of height.   On top of that, I put down some scraggy bits of ply to create a 10mm air gap and then fitted some of the heat proofing -I'd already bought the 25mm  calcium silicate board (which has been rolling around in the back of my jeep for the last few weeks making a mess).   I was sceptical of whether it would be strong enough to hold the weight of the tiles...  (which ended up being ex display in our local depot - NOT our first choice but the only ones they had in stock on Saturday morning when we went shopping) but once the tile adhesive was lathered all over it, they seemed to be fine - it was dry within a couple of hours and we could lift the stove into place.

Cutting the holes in the tiles was a pain - I got through 5 "tile drill bits" and various other drill bits - AND ended up resorting to an old tile saw to enlarge the the holes to accommodate the brackets.


I made a simple surround using left over bits of sepelle from the track I've been making at work - partly because it's a strong hard wood, and partly because it doesn't burn very easily ... I know this from repeated attempts when I've been grinding metal nearby lol.


Once in position, I marked (roughly ish)the centre point of the output and then using a bit of wood until it "looked" straight, the corresponding point in the ceiling...

Having then measured it, you can see I was a bit slopey on the first attempt lol.

NO matter - I got brave and drilled my guide hole out through the roof!

This was about 10.30...


It all started out SO well - my little cordless jigsaw making light work of the circle... that was until I hit the 5x50mm box bracing section across the boat... slap bang in the middle of where the hole needed to be...  My heart sank as I snapped the first couple of jigsaw blades... followed by many drill bits .


Perseverance was the key though and having flattened 5 batteries trying to enlarge the eventual hole with my cordless angle-grinder (and subsequent trip to screwfix to buy a corded one to complete the job) by 2pm, it was done! - NOTE how close I came to beggaring up the wires that were NOT on my wiring diagram - the builder must have ignored needed to deviate .

IT was by now of course raining too!

Amazingly, when I got the flue and fed it down through the hole, it lined up perfectly with the stove underneath...  even though I was sure I'd measured it properly, I have to admit to being fair amazed it was right lol.


I sealed it up with a combination of heat proof silicone and sikaflex I had left over - sikaflex doesn't claim to be heatproof but it's very good stuff and I used it around the bolts too.

Having  put some fire-rope around the blanking plate on the rear, I decided to put flexible (well that's what it says on the tube) fire-cement in there too.  


Once the flue was nicely sealed up, I went back on the roof and wedged the flue into the collar with more fire rope, more fire cement and topped off with the flexible heat proof stuff again...  that should cover every eventuality lol.


Before lighting it, you may note I got a couple of fire-extinguishers to hand - there was no need.  It lit easily and in no time was up to temperature... well when I say temperature, we were aiming for a "gentle fire" to cure the cement etc...  within no time however, it was over 30 degrees in the cabin and we spent the rest of the evening watching tv in our pants, with the windows open!

Bliss.

Until next time...


Wednesday 18 January 2017

Useful Mother-in-law and poo holding tanks - NOT connected!

Before we undertake the 'fire-fitting' project this weekend, I've called in on route home tonight and fitted another 12v socket and 5v usb charger.... THIS time, in the rear cabin opposite the control panel.

This location was chosen so as to be able to keep phones plugged in and charging whilst chugging along and within reach.  It'll also be handy when using the dinette table as a computer work-station.

please try and ignore the clutter that seems to have made itself at home  be temporarily in my cubby hole!

It will also come in handy as a place to plug in a little flexible USB powered LED that Andy's mum gave us on our last visit to them...  they picked a couple up in IKEA and they're perfect for subtle background lighting OR for reading.


They draw beggar all power and when it's dark, offer a nice localised alternative to having main cabin lights on...  in fact, for the money (I think they were either 2 or 4 quid each) they're smashing little lights.  We've since been and bought a few more so that we can have a couple in the lounge at floor level.

IF I'd worked out how to turn the flash off on my phone it would have helped of course!

I've not had much time to do anything else on the boat but I did finally get around to ordering the toilet tank, pipe work, connectors and a charcoal filter...  These all arrived yesterday.


Well I say ALL - I forgot to order the tank fitting kit for some reason... when I phoned up today to 
complain  enquire where it was, I was told everything I ordered WAS sent...  and as it also transpired I'd NOT paid for it either, I had no where to go.  

The woman was very nice however and accepting I'm a moron, she very kindly agreed to send it out (for the 107quid) but NOT charge carriage as it appeared a genuine mistake - people can be so nice... of course had she known I'm a ginner, it may have been a different story!

Until next time...


Sunday 15 January 2017

Porthole shutter prototype and waste bin.

Well so much for the "winter blast" - OK it was a little windy here and there but nothing like as cold as had been forecast all week... I feel cheated!

I wouldn't care, but I made sure the diesel tank was full, the batteries well charged and water tank full in anticipation of a mini ice-age.  Oh well.  At least being on the boat from Friday night until Sunday evening meant we made a bit of progress  here and there... we'd have made more had we not kept stopping work (I have to cut things outside now as it's been decreed no more cutting/sanding can be done inside) and chatting to passers by.... trouble is though, I'm not very good at remembering faces so it's always a surprise when someone continues a conversation started on another day  - I play along and hope I've not exaggerated my general fabulous-ness 😇

You'll remember the plan had been to have a go at making a shutter to cover the portholes.   I'd measured the external dimension of the liners the other day and bought some 12mm mdf.  I thought about trying to source Ash or Poplar 45cm diameter circular disks but had a change of heart when I was given a quote from our timber supplier at work.

SO - instead, I ordered some iron on ash veneer (either Amazon or Ebay - I forget) and set to covering them.


I'm getting better at obtaining a decent finish now via a combination of applying a wooden block after application and then gentle sanding of edges... they bond together quite well and once it's varnished with the Morrels low sheen lacquer, it will look fine.

Fitting them was easy enough - I used cranked hinges again although I must admit, whilst they do the job, the ones I have are not as robust as they could be...  I think i need to find "tougher ones" or experiment with using 2 each side rather than one - they FIT to both the cabin side AND cover fine but "flex" in the hinge itself.  


This prototype is in the main bedroom so won't often be opened anyway and once I get another cabinet closer, I'll put the reverse on the side of the cabin to hold them open when required.  I have to admit it was a bit of a cockup   mistake fitting it though as  when closed it serves no purpose as without the angled barrel bolt at the top, they open up anyway...  In future models, I've decided rather than fitting a spacer behind the bolt, I'll drill a little hole into the perimeter of the shutter to keep them closed.  

ALSO - I've found a box of mini magnets which I will sink into the mdf BEHIND the laminate before screwing a small washer to the cabin side to keep them open... ALL in good time.

Another little job that's been done this weekend was fitting a mains power point to the end of the kitchen bulkhead - the wiring had been missed off the plan so I took a spur off the washer one under the counter - it means the Tassimo can sit on that side and plug in over the end when required.


On the opposite side, it seemed a good idea to fit another usb (12 to 5v) socket and volt meter... so I can keep one eye on the batteries whilst watching TV - YES I know there is already one behind my chair but the older I get, the less I like straining my neck!


I'm in trouble though - cutting holes in using my multi-tool created a lot of dust...  well, it was a) raining outside and b) I could hardly take the bulkheads out anyway could I?


The final achievement of the weekend, was the installation of a kitchen bin under the sink - Andy found this one somewhere on the interweb and it's quite a reasonable size - with 2 containers... 1 of which will be used for recycling stuff and the other for stuff we can't chuck on the fire... (once we get around to fitting the blooming thing)


The little lights I've stuck to the cupboard doors are only ikea movement sensitive leds but they do the job of putting light just where you need it.

We can't go to the boat tomorrow but hopefully during the week I'll get the nerve up to begin building the hearth/fire-surround...  The webasto works very well but it really does hammer the batteries - despite purporting not to.   

WORK however is rather hectic as we're now trying to get this ride completed by the end of the month - it's meaning working weekends and longer days (unpaid) and I'm afraid that leaves me too exhausted to do much during the week...  I was asked to do a blog posting on the fairground restoration side of life - at some point I'll  post a photo stream of this rides progress but for now, here's how it's looking:


Until next time...


Tuesday 10 January 2017

A weekend off, 2 sets of visitors and a Ginger moment...

We'll start in reverse order...

Having hired a fair few boats, one of the things that has annoyed us about them has been the lack of a proper mirror.  NOT that we want gaze at ourselves but we DO like to be able to check our teeth (our own btw) for bits of green stuff and maybe run a comb through our hair once in a while...

With this in mind, I set to and measured the space above the basin in the bathroom and the corresponding area above the toilet.  It then occurred it might be an idea to have another mirror the opposite side of the bathroom bulkhead in the main bedroom.

There's a company in Wakefield called "Glass and Mirror Technology" - http://www.glassandmirrortechnology.co.uk  I've used them before when I've needed mirrors making for fairground rides.  I emailed them my dimensions and asked them to make the 3 mirrors.


We're quite pleased with them and at a little under £100, they weren't silly money either.  THAT said, "gingerism" did strike and rather than getting 2 with the right angle to the left and 1 with it to the right...  idiot here ordered it the other way around - which now means I've got a sloping mirror with no where to put it.  I MIGHT put it upside down as it were, underneath the bedroom one to make an (almost) full length one OR try and find a boater with a wall it can go on and give it away... we'll see.
................................

Given how busy we've been at work of late, the plan was to have a weekend off doing chores on the boat as we had a couple of visits planned .  The first to come along and see the boat again, were Andy's sister and nephews.  They've not seen it since delivery day.

The weather was nice so after a quick lunch in the pub, we went off for a chug with them.  It was a bit snug at the helm with the 5 of us crushed snuggled in.


With them operating the electric lock, it gave Andy a chance to be at the tiller  too.

This was Saturday ...

We'd planned to fill with water on the way back but everyone else in the area seemed to have had the same idea as all the taps were occupied.  

We left it and I got up early on Sunday morning to be first to the water point - not for any competitive reason... just to ensure when our second visitor came along, it'd already been done.

Helen arrived as planned  - she'd not seen the boat before and appeared genuinely impressed at the progress we've made on it.  She also very kindly gave us the money to buy the macerater toilet

It's a Jabsco - obviously not operational yet as we've still to get the money together for the tank and fittings... there's no rush though as we can use the Thetford in the back cabin until we get it sorted.

We cruised down towards Fairies Hill again and all went well on the way down... a bit chilly but we were wrapped up warm and Andy kept us plied with copious cups of hot tea.


WHO said Ginners can't wear orange?  

On the return journey however  - (after another beautifully executed turn) things began to go to pot lol.  STARTING with a loss of concentration on the lock landing at Foxholes - I  was holding the boat (or rather trying to) with the centreline and nattering away...  of course Andy had began pressing the buttons and the lock was emptying...  I didn't really notice the rope slipping through my hand until it was at the very end  -  and of course the boat by then, was diagonally across the canal !

EVERYONE is an expert in such situations and various other boaters felt the need to interfere   offer advice.  Let's just say I was gracious in receipt of such common sense suggestions and regained enough control (eventually) to get into the now opened lock - complete with a few more scratches :-)   It's a good job it's not painted yet.  

Whilst it was a relief to be hidden from view inside the lock, things didn't go smoothly there either - Andy then got the key stuck in the control panel!  I went inside to look for some WD40, leaving Helen in charge of the boat...LONG story short, it transpired that the gates had opened up slightly and he needed to press the "close gates" button to release the key - you live and learn.

When we got back to Stanley we called into the pub for lunch before heading baack to the boat for coffee.  

The "weekend off" doing chores was nearly achieved but I couldn't resist pulling out the fridge to cut some holes into the floor to allow cold air from the bilge to be drawn up and over the compressor - hopefully to reduce the power consumption.


It isn't pretty but it might help... I suppose we'll see.


This week at some point, I want to try and make a porthole shutter (as a prototype) and fit ash panels to the end of the kitchen units.  ALL subject to having enough energy after work.  OTHERWISE, it'll be a weekend job,  By the looks of things - well, if you believe the weather forecast, we're in for some very cold weather so rather than try and "manage" the boat from home, we've decided to spend the weekend on-board and do it that way.  It'll be interesting getting up and going out to work at silly-o-clock in below freezing conditions from the boat.

Until next time...