Tuesday, 15 November 2016

Face plant into engine hole...and a snapped bleed screw!

Ok - so those of you who know a "ginner" may already be aware of this...  we're a little accident prone... an Aunt of mine (although not ginger) prefers to refer to us as "dyspraxic" rather than clumsy.  I take this to another level sometimes!

Today, after work, I called in at the boat to have a go at pressure testing the heating system/radiators.  On lifting the engine board (which I'd only last week swapped from checker-plate to phenolic board) I stumbled and went head first on top of the engine. Suffice to say I screamed like a girl and howled a lot of words I shouldn't know!

It hurt like hell - my face ended up wedged between the diesel pipe and the top of the block.  Annoyingly, I've not a cut or bruise to show for it...  Once I was composed enough to try and extricate myself, I made a valiant attempt at an all in one leap out - the kind of thing a gymnast would do.

Alas, I am clearly NOT a gymnast.  This resulted my legs ending up where my face had just been and  unbeknownst to me (at that time) I snapped off something on the diesel filter housing :-(

This is the thing I buggered offending article


Trouble was, I didn't KNOW I'd done it until later on when I tried to start the engine.  It was only then, after probably 4 failed attempts it occurred to me I might have done something.  She would turn over and start but immediately stop - no matter what position the throttle was in.  

At first I thought someone had stolen the diesel (the gauge is fitted but not calibrated yet) so I opened the tank to take a look - no ... still plenty of fuel. Then it occurred to me the wood we have laying around in the lounge was at one side so perhaps no fuel was able to be picked up due to the listing...

SO I moved the wood to the centre to balance the boat up a bit and then tried again...  STILL no luck. ... Staring blankly into the hole, wishing I'd NOT taken the manual home on Sunday, as the light was fading I switched on my head torch only to notice the thing pictured above.  Then it all became clear.

Tomorrow, I'll try and source a replacement  and in the meanwhile, will take it into work with me and find a bolt the same size - it "looks" about 6mm but I'll measure it and hopefully find something to fill the hole.  I'm not sure if a normal bolt will enable me to prime, bleed and secure it enough for the engine to run but It's worth a try... I can always grind a bit out. 

ANYWAY - back to the pressure testing.

Having buggered around with a foot pump on my own (and thus not able to get any pressure in as it was obviously escaping somewhere) Mark on the boat behind Mick, came and loaned me his 12v compressor.

Whilst it was inflating, I went into the cabin to listen for air ...  I didn't have to go far as the push fit on the calorifier was the 1st culprit.  Despite my best attempts at pushing the elbow further on, I could n't get a seal so I ended up taking it off and replacing it with a bit of plastic pipe and a compression fitting... and a stop tap so as to be able to isolate it from the heating circuit.

I've pumped it up and again and will leave it over night to see how it fairs.

Until next time...


Sunday, 13 November 2016

A few easy wins this week...

Well I say easy, in "ginger land" it's usually 3rd time lucky... my skill set is no where near as high as my enthusiasm for having a go :-)

I've tried NOT to go to the boat every night after work - mainly because I know that when I've spent a day working in the cold at the unit, it's very hard to go to an even colder and dark place and achieve much.

All that should change this coming week as I've managed to tie down the webasto man to installing the thermo top on Thursday... for someone getting paid a large amount for what will be 1 days work, I don't understand why it's so difficult to get a definitive arrangement.  No matter,  hopefully by the time I get home from work on Thursday, we'll have an operational heating system and evenings working on the boat will be fun.

SO - What HAVE I achieved this week?

Well, the radio in the back cabin is now properly wired in (although it was a bit wonky so I've fitted a bit of chrome around it to hide the bodged cut  finish it off nicely.   I've connected the 12v socket and fitted the back cabin led TV... and amazingly it works


I've also tidied up the wires that were hanging out of the bedroom ceiling - given how they were left in the top corner (with no room behind for a rebated socket) I've had to fit a surface mounted patress box and then modify a chrome light switch to accommodate the combined tv, satellite and power socket. 


It worked out ok in the end.  I'll get the bedroom telly on the wall this week too.

Also this week (I suppose that should be last week really), I dug out my pocket jig and used it to fix a shelf above the calorifier and frame for the 2nd toilet door...


If you've never used one, you can watch how here...  it's not me but you'll get the gist of it.


A very simple but effective bit of kit - circa 30 quid off Amazon I think it was.

I've also cut and hung the door on the 2nd toilet - using double cranked hinges ... to be honest, it's not the best job I've ever done...  lets just say rather than measuring twice and cutting once - I er, kind of did it the other way around... the result being that the door is the right size but the support panel is 1cm too thin... the resultant outcome being a compromise - it looks ok but would not win any awards lol


Today's plan is to make a door for the wardrobe opposite - it'll need to be flush fitting though given the width of the walk way and the fact the plan is for the toilet door to open into the walkway (to block off the route to the kitchen) and then the wardrobe door to open the other way (into the dinette) to effectively make a cubical across the boat to use the loo in.  I doubt it will get used much, but when guests are on board or WHEN the macerator is broken, we'll be pleased we went to the effort.

Until next time...


Wednesday, 9 November 2016

Tv and Radio Aerials...

I can see why some people take a long time to complete their builds.  Working in a small space requires way more self disciple and organisation than I have...  I'm learning but it's a slow process...

Calling in on route home from work is more difficult when it's cold and dark .  I'm running the engine for an hour or so to have the electric fire on which does take the chill off it but the sooner I can coax Simon the webasto man into fitting the heater, the better.  He's not returning my calls at the moment so I may resort to collecting the unit and doing it myself!

Bearing in mind the aforementioned difficulty, I wanted an easy win so have drilled yet MORE holes in the roof and erected a combined tv/radio aerial.  I don't know if it's MEANT to be combined but it did say on the box for fm/dab and tv signals...

I've heard mixed reports about them but lots of boats on our mooring have them so  figured they MUST at least work "here"...

Given the boat has the wires already in for 3 tvs and 3 radios, rather than having multiple wires going up though the roof, I thought I'd try just having the 1 and splitting it.  As look would have it, I found these handy little boxes on ebay and also discovered - (quite by chance) the aerial kit included a signal booster (12v) which had 1 input and 2 outputs... perfect.


The wire from it passes through the centre of it into the wardrobe in the front bedroom - I've drilled a large hole and filled it with more sikaflex - that stuff is addictive!


It looks a bit messy busy, but I'll tidy it up with cable ties at some point...  KEEN to test if it worked or not, I then decided to wire in a radio at the back of the boat.  That turned out to be a bit of a faff because the 12v feed for it turned out to be omitted so I had to take a new feed for it.... temporarily I rigged up a cable from the one on the other side of the boat


Anyway - it works and the signal is fine...  I'll wire it in "properly" tomorrow night.

Until next time...


Sunday, 6 November 2016

Drilling Holes in our new roof...Eeek!

Now I know to a lot of folk, drilling and tapping a hole is no big deal...  in fact, to me usually that's the case too.

WHEN it's through the roof of your new boat however, it just seemed "wrong".

A necessary evil of course in order to fit the solar panel mounts that kind chap sent me - for which I've STILL not paid... despite chasing him up twice now!

Having gathered together my bits and bobs, I fitted the brackets to a panel and dragged one on the roof to mark out their final locations.

You may remember all the fuss about the location of the bathroom mushroom vent which ended up in the way and HAD been changed to a flat "space ship" type... well, in the end, due to the last minute rush to meet the shared lift deadline, we did end up with a normal mushroom.  LUCKILY though, the solar panel bracket has enough height in it to allow the panel to sit over the vent comfortably.

I planned on using 6mm stainless steel bolts to hold them down and used a slight larger drill bit than I'd  usually use, so as to be able to get a decent amount of Sikaflex http://www.screwfix.com/p/sika-sikaflex-ebt-all-weather-sealant-black-300ml/79299?kpid=79299&cm_mmc=Google-_-Product%20Listing%20Ads-_-Sales%20Tracking-_-sales%20tracking%20url&gclid=COP877i7k9ACFRAz0wodT5kP0g down through the threads.


Given we really should have painted under the bracket properly once i'd got plenty in the hole, I then proceeded to put big dollops under the entire surface.  I don't think it will leak as once the stuff sets, it's pretty hard to penetrate.  I do wish I'd bought a better quality tap and dye set though as by the time I'd done all 12 holes, the m6 tap was about worn out.  In fact, the last one I did was a pretty poor fit and I may need to drill it out and use a larger bolt at some point in the future.  

Having got the panels in place I needed to work out the best route for the wires into the cabin.  I know a lot of people use a mushroom vent but given we'd already had the internal wires run behind the panelling, going through the front bulkhead into the back of the wardrobe was the best choice.  I drilled 2 x 12mm holes through and whilst I'd initially planned on using some little rubber grommets to protect the cable, decided after consulting a few other folk, to wrap a good amount of self amalgamating tape around each wire to make a snug fit through the hole and leave an inch either side to allow for movement WITH the steel if you follow.  It's double insulated cable to start with so I should think it would withstand quite a lot of rubbing even without additional protection.

On the inside, I fitted a box to join the wires together and a pvc plate to over the holes. 

As you can see, there's going to be a lot going on in this corner as it's where the 3 tv cables, 2 satellite and 1 radio cable all terminate - my plan is to try to attach them all to 1 aerial (with a booster) and fit this to the front of the boat.  Time will tell if that works out!

What only takes a few mins to write down, took all day - partly because I'm the worlds most messy worker, leaving my tools laying around the boat and spending half my time asking Andy "have you seen such and such?"... I WILL have to learn to work in a more tidy and disciplined manner as it's beginning to frustrate even me!

Once the panels were safely terminated, I went to the front of the boat and began the connections to the battery bank.  I wasn't sure what size fuse to be using so once again asked advice from Thunderboaters, and a compromise was agreed - we ended up with a 70amp in-line fuse.  The theoretical max output of the mppt controller is 40amp and the cable I've used is 16mm2 (jump leads).  

There isn't much space to squeeze a 5ft 10 ginger in the engine hole but trust me once in there, it was very handy to have my glamorous assistant passing me things I'd forgotten to take in with me.


On the plus side, as it was very cold out, I was quite pleased to have had the engine running for a couple of hours earlier to make working in there more pleasant. 

Having made the connections to the battery, I mounted the controller as close as possible to minimise the length of cable required - I think in the end, it's worked out about 3/4 of a metre which isn't too bad.

After the unit was on the wall I connected the battery FIRST - very important or you can break the controller!!! and then wired in the panels followed finally by inserting the fuse in the engine hole.  Next, I cut of a hole in the control panel and fitted the remote meter I bought at the same tie to monitor the mppt.  I'm pleased to report that even in late afternoon  winter sun, it was managing  a
10.4amp charge rate.   It soon dropped though as the batteries were quite close to full.  

I know given the time of year,  we won't get a tremendous amount from them, but given we'll not be living on board yet, they SHOULD keep the batteries in good condition and reduce the amount of time we'll have to run the engine..,

In other news, I spoke with Simon (the Webasto man) the other day and whilst he confirmed our kit has arrived, he's a bit tied up and unable to come fit it for a few weeks. That's a bit of a shame but we'll manage by using a combination of a camping gas stove and (with the engine running) the little halogen heater to take the chill off the coldest part of the days.  After today, we're both back at work full time anyway so it will only really be weekends and the odd couple of hours after work for me in the dark.

Until next time...


Friday, 4 November 2016

Radiators and piping.

Good morning - please ignore the time... "insomnia o'clock again"...

I THOUGHT that once the boat was under our jurisdiction, I'd be able to sleep... well it turns out that is not the case.  Oh well.  At least I'm not wasting my time in the middle of the night... no - not me.  I've been researching funeral costs (triggered by a program I've just watched on the telly) and have also been watching a program about Britain's Bridges... it was very good!

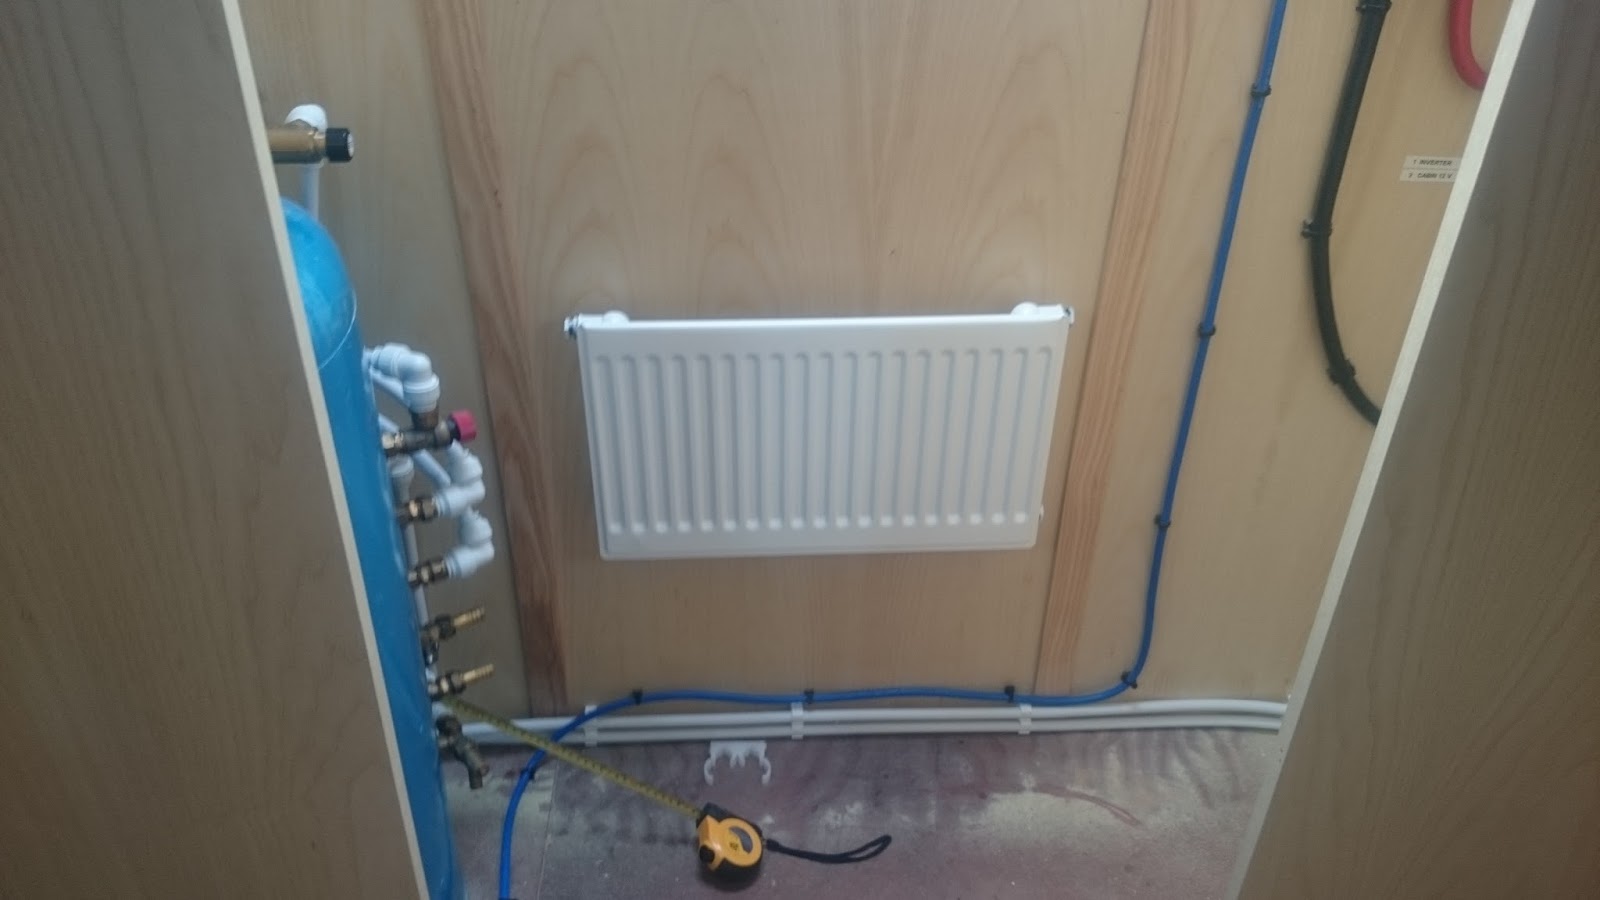
SO - Yesterday we continued fitting and piping the radiators to the boat.  You'll recall weeks ago both the rads AND the hep2o piping arrived in the post.  The " so - called" lay flat (on a roll???) piping is anything but !

Instead, it's a constant wrestling battle in a confined space.  IF you are doing the same, then I strongly suggest spending a little more and buying it in lengths of 2-3 metres... it will be much easier... I also advise on buying a better quality plastic pipe cutter than the rothenburger plastic pipe slices I'd bought off ebay...  whilst NOT totally budget, they took a bit of effort to produce a clean cut - some needed tidying up with a stanley knife.

It was very cold (sharp frost) so before we began, we started the engine, put the inverter on and turned on a little 800 watt halogen heater that usually heats the greenhouse.


The inverter showed a 24% loading which is about right and whilst you could hear the engine tone change as the alternator takes more power, the charge rate only altered from 14.6 to 14.3 v which I think is ok - I'd not be using the heater for hours on end without the engine running obviously.  

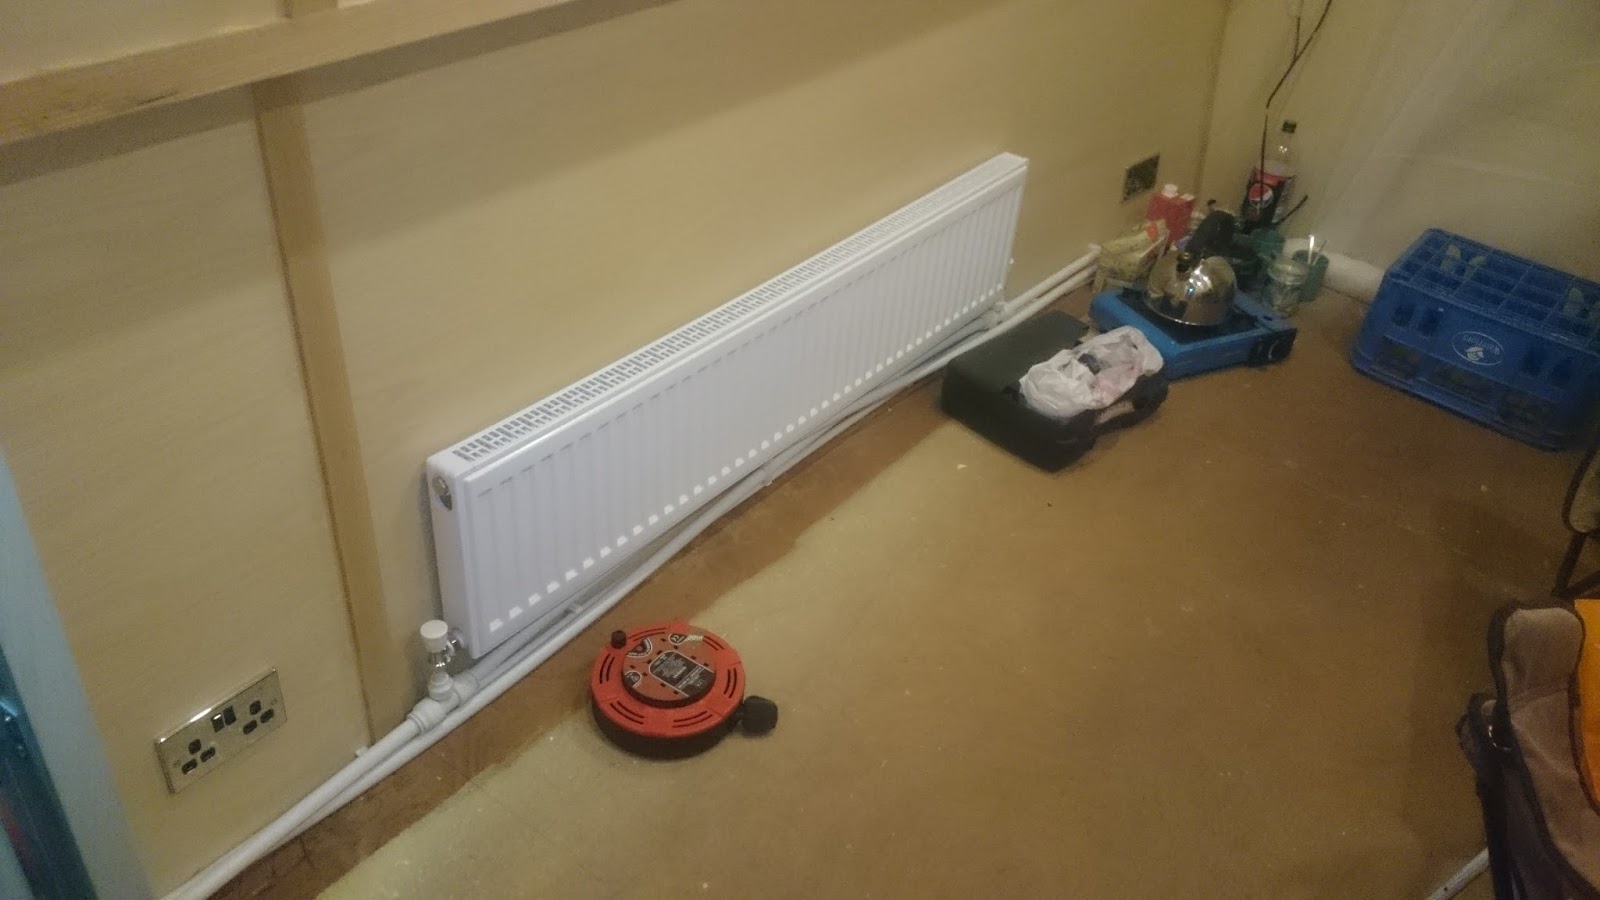
Having done the last radiator in the run first, we continued round the boat, starting in the rear dinette with the little wall rad and fin rads which will be under the bed/floor.

I'm not entirely sure the fin rad under the floor will be worth the effort but it's done and if it does turn out to be a wast of time I'll flog them on ebay to some other idiot  pioneer.

The next one in the port side run was under the hatch in the lounge - that meant enlarging the holes in the bulkheads with my multi-tool... sods law meant that where I needed to cut, the joiner had "joined" them with galvanised screws which blunted my blades.


I've been using the 2 double sealed pipe inserts  -  they seem a good idea  but be warned, they are quite a tight fit and at times I was pleased to be able to use the nylon glazing hammer I'd bought when I fitted the windows.

From the lounge I had to drill more holes to get behind the shower and into the bathroom - where we fitted the smallest heated towel rail ... NOT to heat the room (there is another radiator on the other side) but to dry towels on. 


Moving through into the bedroom, it was very tight to get the radiator low enough to be able to fit UNDER the bed and keep free the batten behind the lining to attach the bed support to.


Getting the pipes to bend around and through the front bulkhead and near the water tank was a pig.  We've ended up with 2 joins in the centre of the boat - luckily hidden behind the panel but it was very difficult to get a tight curve through the holes I cut.   It's done anyway so next to connect were the bathroom (proper) and 2nd lounge radiator.  


By now we were working in the dark again but did want to finish before calling it a day...that WOULD have happened more easily, had I not run out of "bits"...

by "bits" I mean pipe inserts...  I was SURE I'd bought enough but hadn't... SO a trip to screwfix was in order to complete the job. 

The final thing to pipe in was the calorifier - another bit of a pig, working in a tight space. I've treated it as a radiator and once that was done, passed the pipes through the bulkhead into the engine space.  It's going to be tricky to get a panel on the cupboard but that was already going to be a problem judging by the angle the boat builder had fitted it on anyway.

So they're all done.  I've NO idea if they are water tight or not... I suppose we'll find out the hard way once we get the Webasto plumbed in,

Until next time...


Wednesday, 2 November 2016

A "shorting circuit"...

The quick version is the constant "tripping" of lighting circuit 1 is now resolved!

The LONGER version follows:

Having slept on the problem, and then tried tightening up ALL the negatives on the bus-bar ( there was no improvement)...  we agreed there was nothing to be done other than call the boat builder - we left it until a little after 9 and decided that as it was such a nice morning, we'd go for a proper "first chug" in the sunshine.
Our planned destination was Fairies Hill - the place we'd originally tried to get a  mooring....  We'd never been on a boat in that direction before but knew there were a couple of massive automated locks to contend with - we'd never done an automated one before so were a little apprehensive but the sun was shining so WHAT could go wrong?


you cant see the confused face on Andy as he read , re-read and then read again the instructions...

Eventually, the lock began to empty lol.

Here are a couple of brief, dull and wobbly videos of it:


Neither of us enjoyed the lock actually...  maybe we're closet masochists but we much prefer lock-wheeling to pushing buttons.

It WAS a nice day for a chug through familiar (walking) territory


As it happens though, the 2nd lock was out of order and although CRT were in attendance, it would be 30-45 mins until it was back on line so we turned in the approach and headed back home to get on with jobs.

During the chug back I called the boat builder to inform him about the tripping circuit and ask if someone might come out.  I was a little disappointed  when he said he'd ask Paul next week when he returns from his holiday - it's NOT the end of the world, but I'd hoped he'd send someone else ... given that he knows we're off work this week... hey ho.

ANYWAY - as it happens... for whatever reason, it occurred to me the only thing I'd NOT done was "cut the outdoor light switch wire" (I'd under ordered switches so it'd not been connected up)...  BINGO - as soon as the wire was cut, the lights would stay on.

Going outside, to investigate the 'loop' of wire I discovered it wasn't a loop at all (obvious really) but 2 BARE ends that "someone" (well intentioned I've no doubt) had pushed into the hole (thus shorting out) to 'keep them dry'...  because I'd never seen any bare wires, it hadn't occurred to me!

Anyway - it's now fine and I've put the builder out of his misery.  

When we got back, we decided to try and get some primer on...  the sun was still shining so we got a bit slapped on the front... the plan is to get it all into one shade asap but as is the way with boaty plans...  people kept coming up and chatting so things got put on hold  - and by the time we could start again, it was getting too cold to continue.


We'd planned to continue with it but it was raining yesterday so we ended up starting  fitting the radiators to the interior. 


I had planned to get them on the walls first and THEN do the piping but decided to do them at the same time and have begun at the end of the run... under the back steps.  

ONLY 7 more and 2 fin-rads to do...

Until next time...